Power BI
Power BI can load the data from ClickHouse Cloud or on-premise deployment using either the ODBC driver or ClickHouse Native connector. Both methods support Load mode, but the latter also supports Direct Query mode which eliminates the necessity to load the entire table.
This tutorial will guide you through the process of loading data using either of these methods.
ClickHouse Native Connector
1. Gather your connection details
To connect to ClickHouse with HTTP(S) you need this information:
The HOST and PORT: typically, the port is 8443 when using TLS or 8123 when not using TLS.
The DATABASE NAME: out of the box, there is a database named
default, use the name of the database that you want to connect to.The USERNAME and PASSWORD: out of the box, the username is
default. Use the username appropriate for your use case.
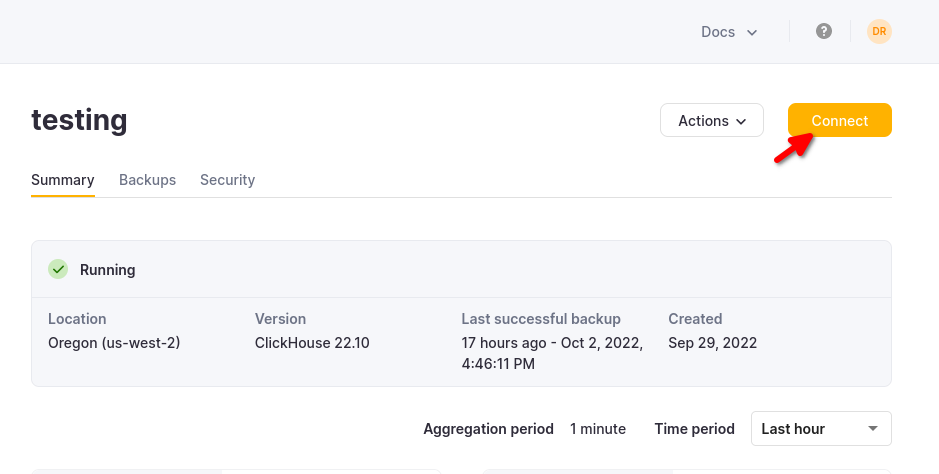
The details for your ClickHouse Cloud service are available in the ClickHouse Cloud console. Select the service that you will connect to and click Connect:
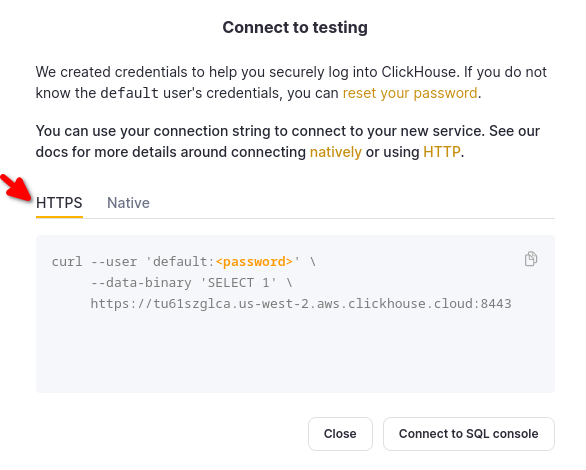
Choose HTTPS, and the details are available in an example curl command.
If you are using self-managed ClickHouse, the connection details are set by your ClickHouse administrator.
2. Install ClickHouse ODBC Client
Download the most recent ClickHouse ODBC release from here.
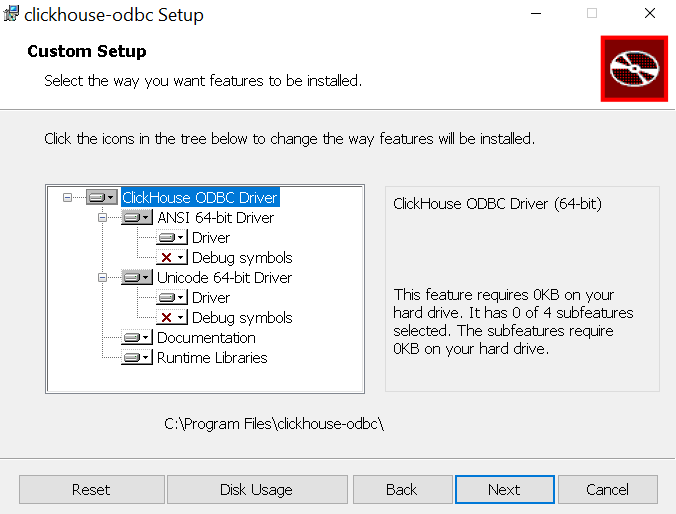
Execute the supplied .msi installer and follow the wizard.
Optional "debug symbols" are not required, so you could keep everything default.
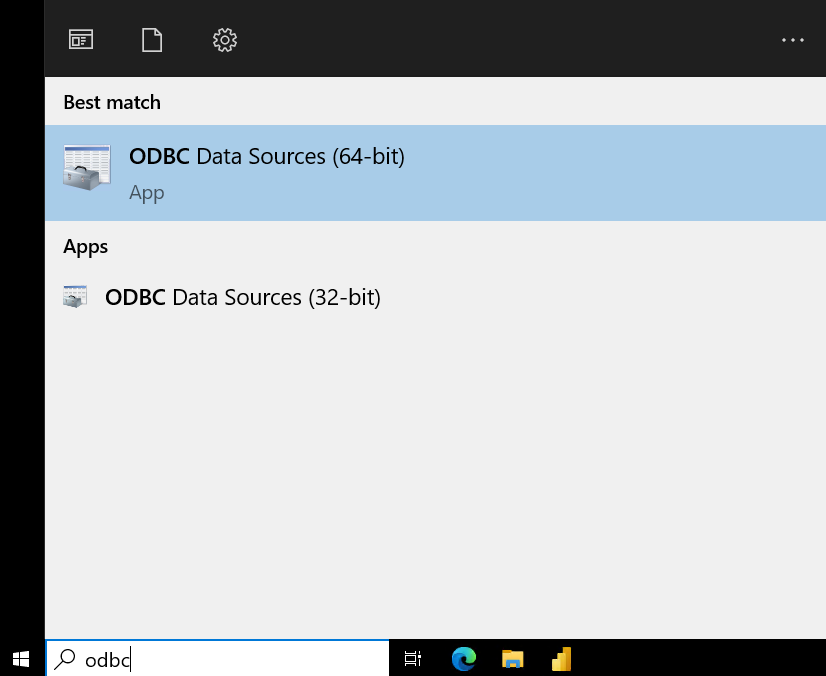
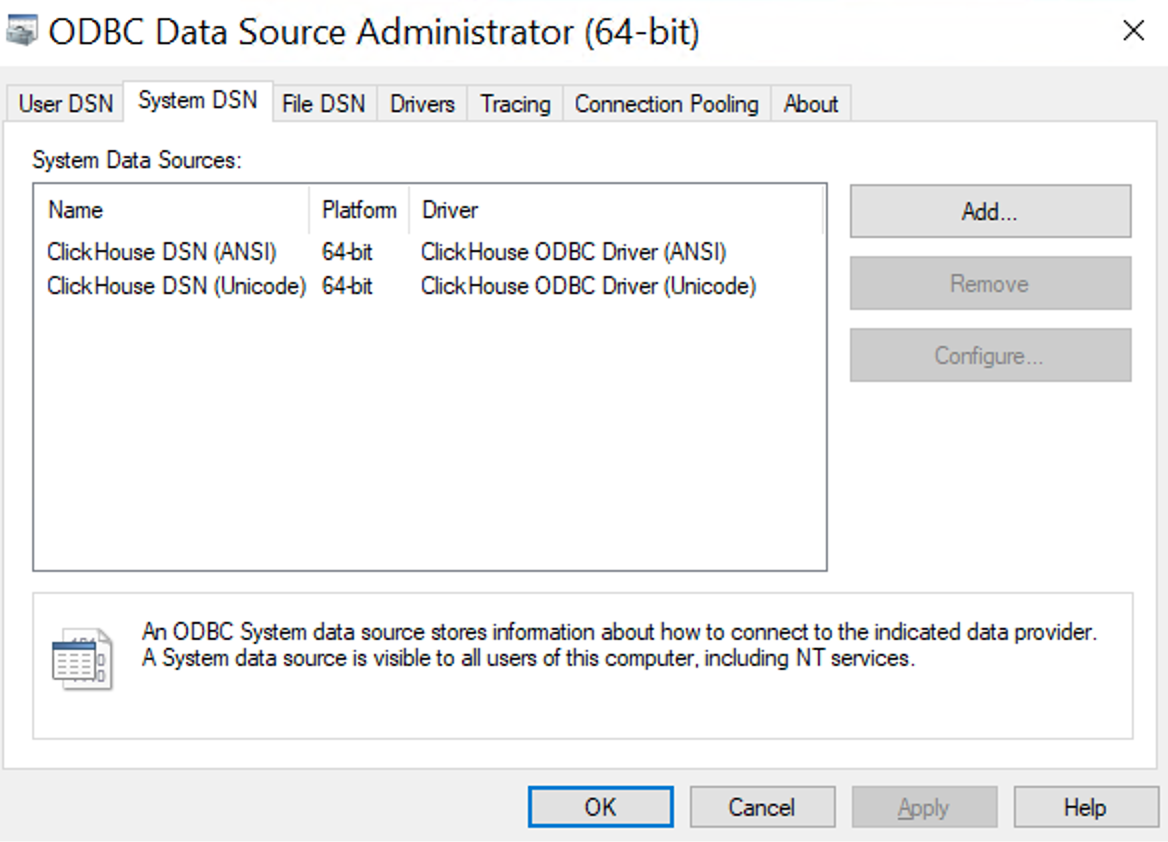
When the driver installation is completed, you can verify the installation was successful: Search for ODBC in the Start menu and select "ODBC Data Sources (64-bit)".
Make sure ClickHouse Driver is listed.
In case you don't have Power BI installed yet, download and install Power BI Desktop.
3. Install ClickHouse Native Connector
- Create the following directory for the custom connector "[Documents]\Power BI Desktop\Custom Connectors directory".
- Download the latest release (.mez file) of the native connector from the Releases Section and place it in the directory you created in the previous step.
- Open Power BI and enable unsigned connectors loading: File -> Options and settings -> Options -> Security -> Data Extensions -> Allow any extension to load without warning or validation
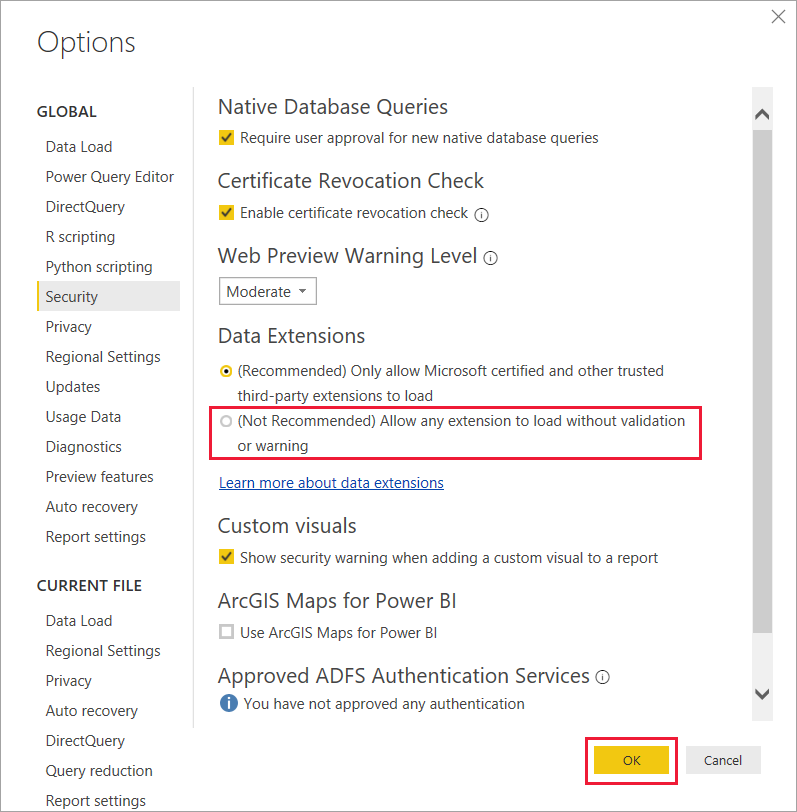
- Restart Power BI.
4. Get Data Into Power BI
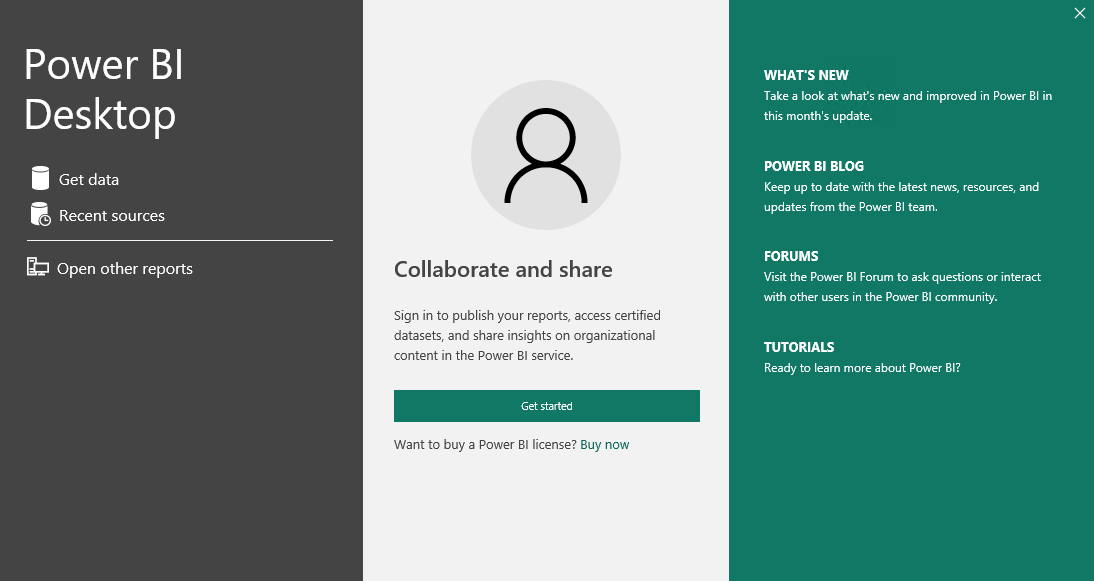
On the Power BI Desktop start screen, click "Get Data".
Search for "ClickHouseConnector (Beta)"
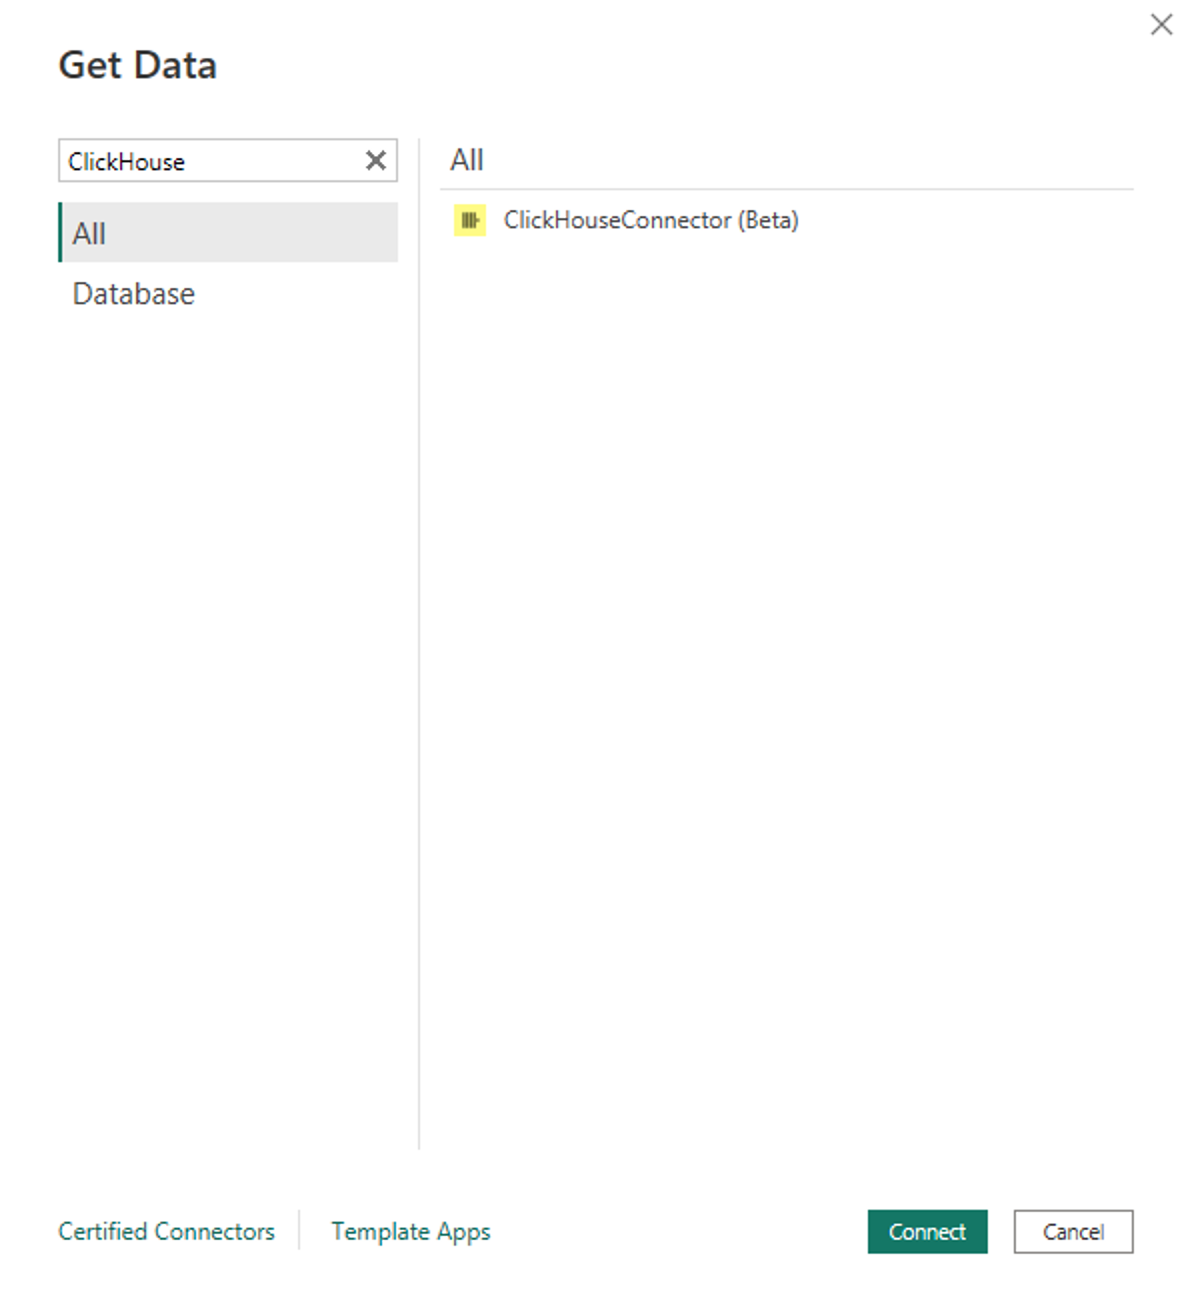
Select the connector, and fill the following boxes:
- Server (required field) - Your instance domain/address. Make sure to add it with no prefixes/suffixes.
- Port (required field) - Your instance port.
- Database - Your database name.
- Options - Any ODBC option as listed in ClickHouse ODBC GitHub Page
- Data Connectivity mode - Choose DirectQuery for querying ClickHouse directly. In case you have a small load, you can choose import mode, and the entire data will be loaded to Power BI.
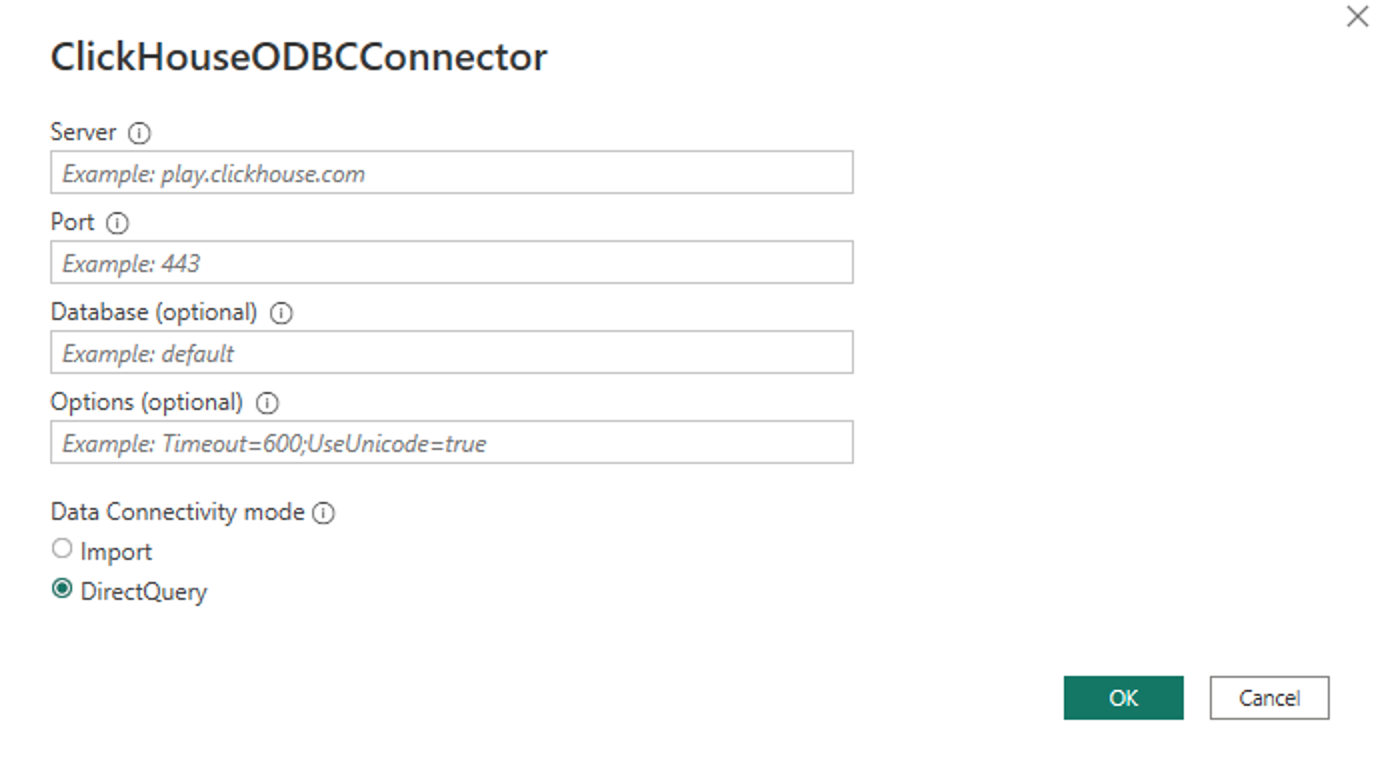
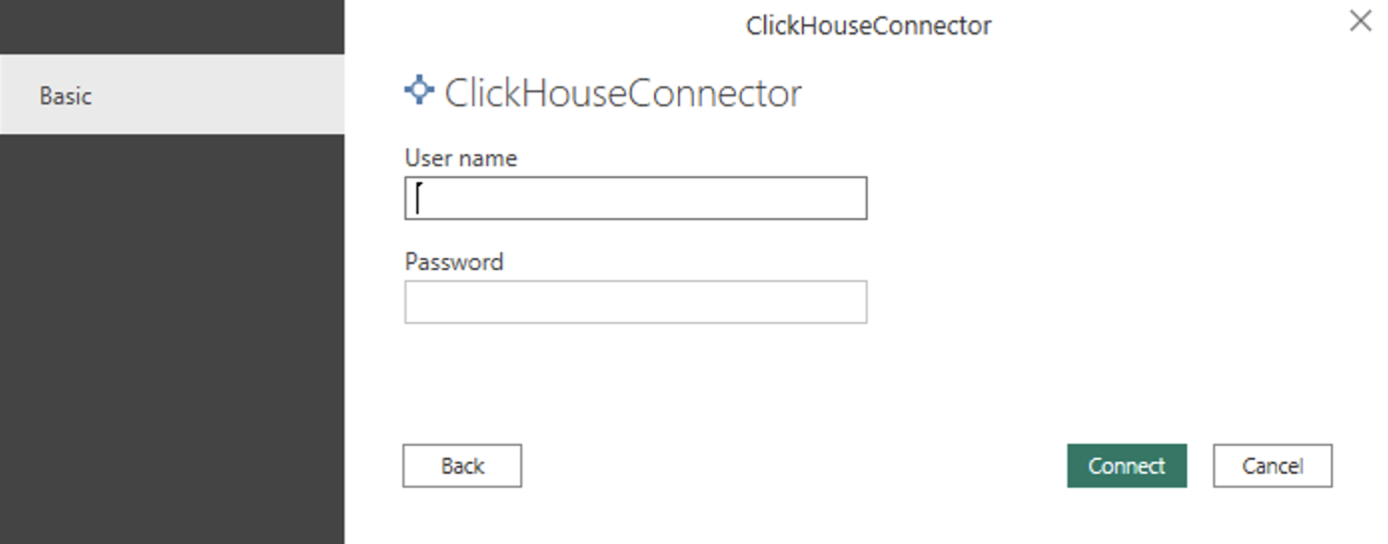
- Specify username and password
Finally, you should see the databases and tables in the Navigator view. Select the desired table and click "Load" to import the data from ClickHouse.
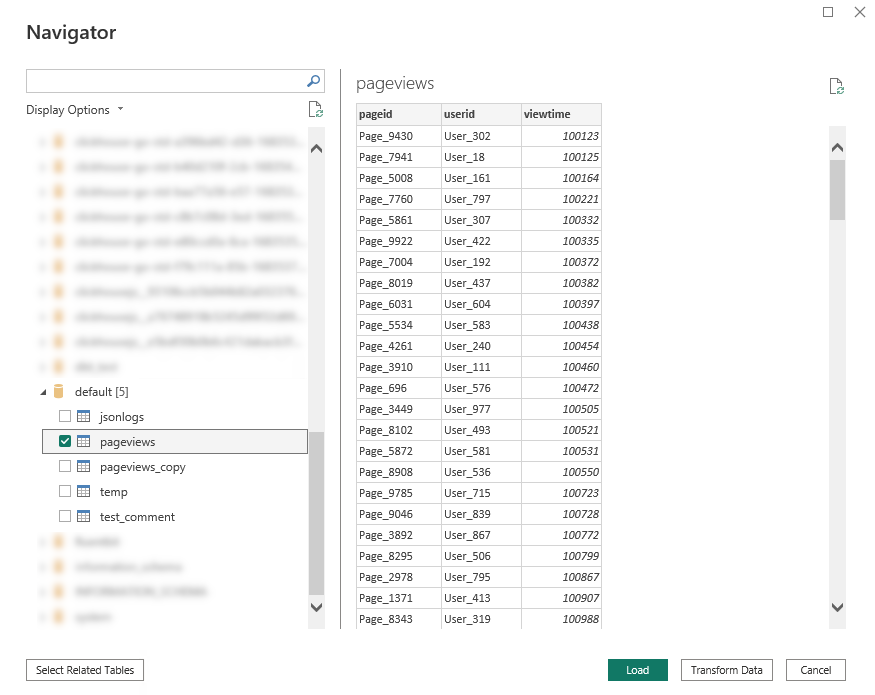
Once the import is complete, your ClickHouse Data should be accessible in Power BI as usual.
Power BI Service
For cloud usage, please refer to Microsoft's documentation on how to Use custom data connectors with an on-premises data gateway.
ODBC Driver
Follow steps 1 and 2 from the Native Connector section above.
3. Create a new User DSN
When the driver installation is complete, an ODBC data source can be created. Search for ODBC in the Start menu and select "ODBC Data Sources (64-bit)".

We need to add a new User DSN here. Click "Add" button on the left.
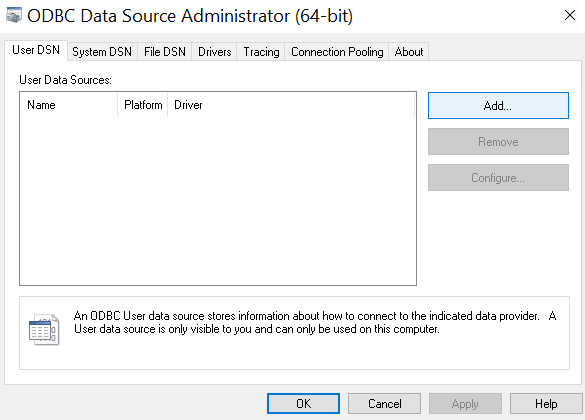
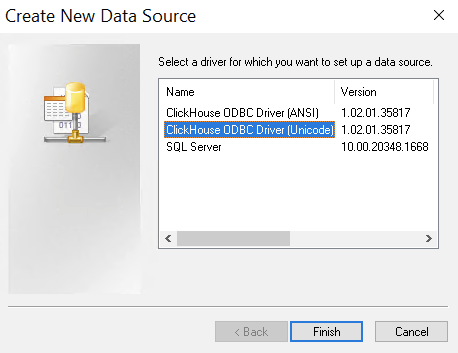
Choose the Unicode version of the ODBC driver.
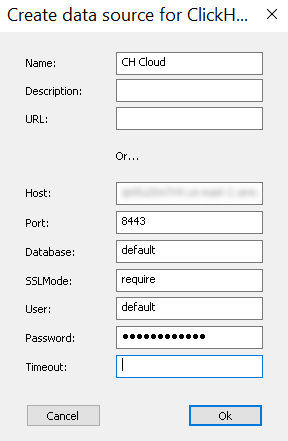
Fill in the connection details. The "Host" field should not include the protocol (i.e. omit http:// or https:// part). If you are using ClickHouse Cloud or your on-premise deployment has SSL enabled, type require in the "SSLMode" field. "Timeout" field value is set in seconds and, if omitted, the default value is 30 seconds.
4. Get Data Into Power BI
In case you don't have Power BI installed yet, download and install Power BI Desktop.
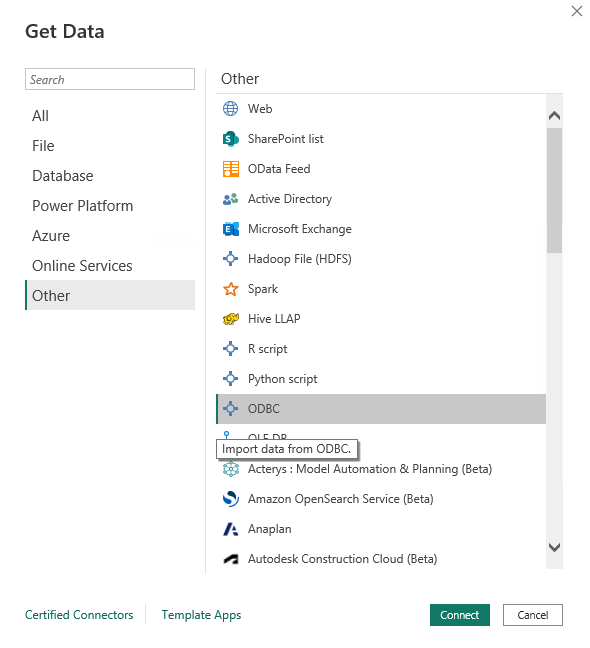
On the Power BI Desktop start screen, click "Get Data".

Select "Other" -> "ODBC".
Select your previously created data source from the list.
If you specified all the credentials during the data source creation, it should connect straight away. Otherwise, you will be prompted to specify username and password.
Finally, you should see the databases and tables in the Navigator view. Select the desired table and click "Load" to import the data from ClickHouse.

Once the import is complete, your ClickHouse Data should be accessible in Power BI as usual.
Unsigned integer types such as UInt64 or bigger won't be loaded into the dataset automatically, as Int64 is the maximum
whole number type support by Power BI.
To import the data properly, before hitting the "Load" button in the Navigator, click "Transform Data" first.
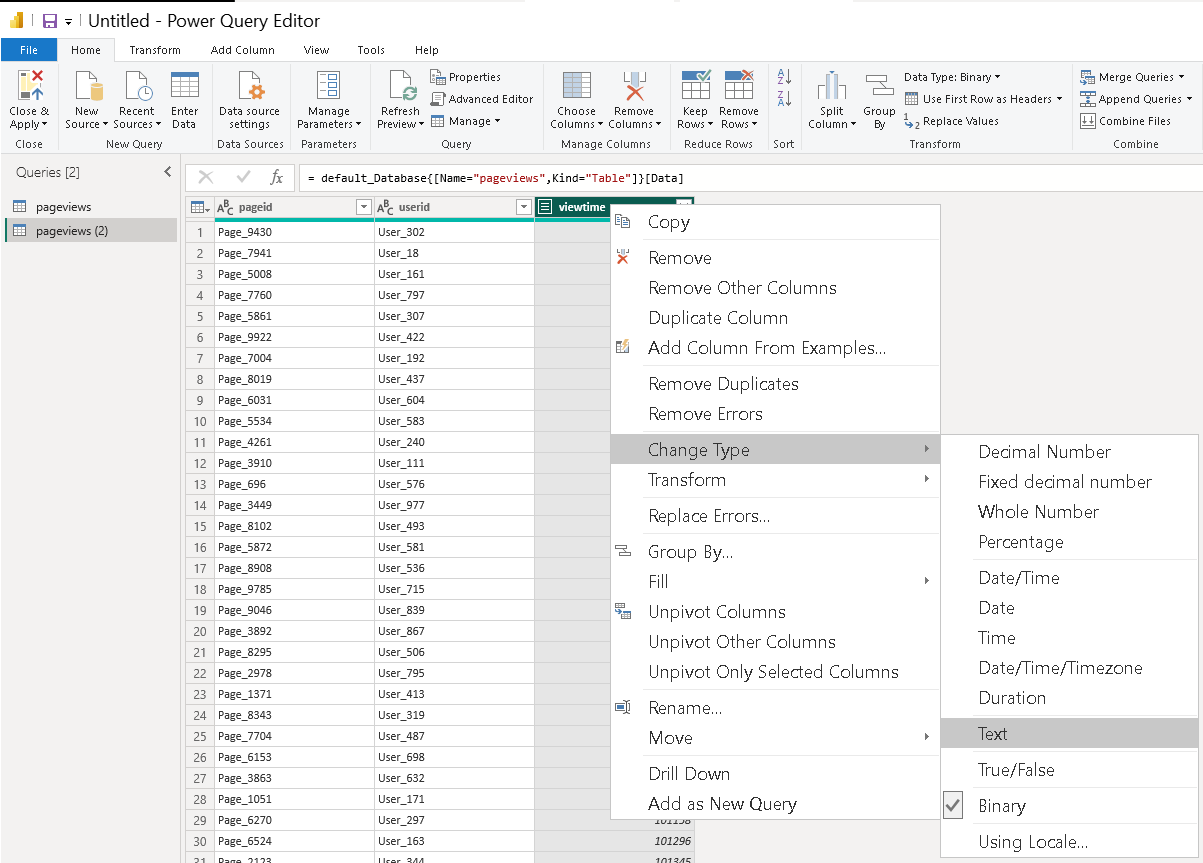
In this example, pageviews table has a UInt64 column, which is recognized as "Binary" by default.
"Transform Data" opens Power Query Editor, where we can reassign the type of the column, setting it as, for example,
Text.
Once finished, click "Close & Apply" in the top left corner, and proceed with loading the data.