Integrating Amazon MSK with ClickHouse
Prerequisites
We assume:
- you are familiar with ClickHouse Connector Sink,Amazon MSK and MSK Connectors. We recommend the Amazon MSK Getting Started guide and MSK Connect guide.
- The MSK broker is publicly accessible. See the Public Access section of the Developer Guide.
The official Kafka connector from ClickHouse with Amazon MSK
Gather your connection details
To connect to ClickHouse with HTTP(S) you need this information:
The HOST and PORT: typically, the port is 8443 when using TLS or 8123 when not using TLS.
The DATABASE NAME: out of the box, there is a database named
default, use the name of the database that you want to connect to.The USERNAME and PASSWORD: out of the box, the username is
default. Use the username appropriate for your use case.
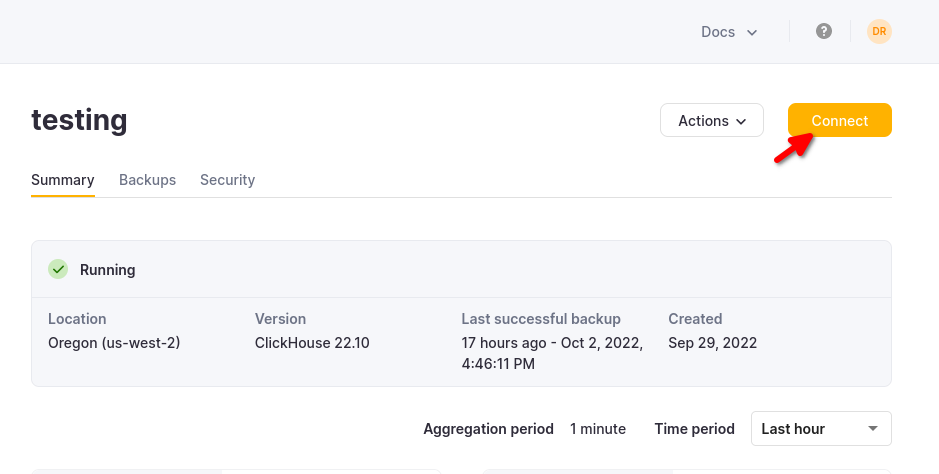
The details for your ClickHouse Cloud service are available in the ClickHouse Cloud console. Select the service that you will connect to and click Connect:

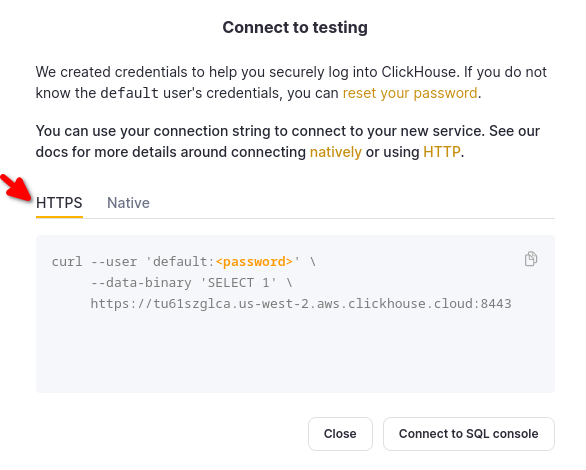
Choose HTTPS, and the details are available in an example curl command.

If you are using self-managed ClickHouse, the connection details are set by your ClickHouse administrator.
Steps
- Create an MSK instance.
- Create and assign IAM role.
- Download a
jarfile from ClickHouse Connect Sink Release page. - Install the downloaded
jarfile on Custom plugin page of Amazon MSK console. - If Connector communicates with a public ClickHouse instance, enable internet access.
- Provide a topic name, ClickHouse instance hostname, and password in config.
connector.class=com.clickhouse.kafka.connect.ClickHouseSinkConnector
tasks.max=1
topics=<topic_name>
ssl=true
security.protocol=SSL
hostname=<hostname>
database=<database_name>
password=<password>
ssl.truststore.location=/tmp/kafka.client.truststore.jks
port=8443
value.converter.schemas.enable=false
value.converter=org.apache.kafka.connect.json.JsonConverter
exactlyOnce=true
username=default
schemas.enable=false
Performance tuning
One way of increasing performance is to adjust the batch size and the number of records that are fetched from Kafka by adding the following to the worker configuration:
consumer.max.poll.records=[NUMBER OF RECORDS]
consumer.max.partition.fetch.bytes=[NUMBER OF RECORDS * RECORD SIZE IN BYTES]
The specific values you use are going to vary, based on desired number of records and record size. For example, the default values are:
consumer.max.poll.records=500
consumer.max.partition.fetch.bytes=1048576
You can find more details (both implementation and other considerations) in the official Kafka and Amazon MSK documentation.
Notes on Networking for MSK Connect
In order for MSK Connect to connect to ClickHouse, we recommend your MSK cluster to be in a private subnet with a Private NAT connected for internet access. Instructions on how to set this up are provided below. Note that public subnets are supported but not recommended due to the need to constantly assign an Elastic IP address to your ENI, AWS provides more details here
- Create a Private Subnet: Create a new subnet within your VPC, designating it as a private subnet. This subnet should not have direct access to the internet.
- Create a NAT Gateway: Create a NAT gateway in a public subnet of your VPC. The NAT gateway enables instances in your private subnet to connect to the internet or other AWS services, but prevents the internet from initiating a connection with those instances.
- Update the Route Table: Add a route that directs internet-bound traffic to the NAT gateway
- Ensure Security Group(s) and Network ACLs Configuration: Configure your security groups and network ACLs (Access Control Lists) to allow relevant traffic to and from your ClickHouse instance. Configure your security group to allow inbound traffic on ports 9440 and 8443.
- Attach Security Group(s) to MSK: Ensure that these new security groups routed to the NAT gateways are attached to your MSK cluster